Browse Plan Categories

Meet Upsie
Return navigate_next
How to Clean Your Keurig Coffee Maker
August 11, 2022 *
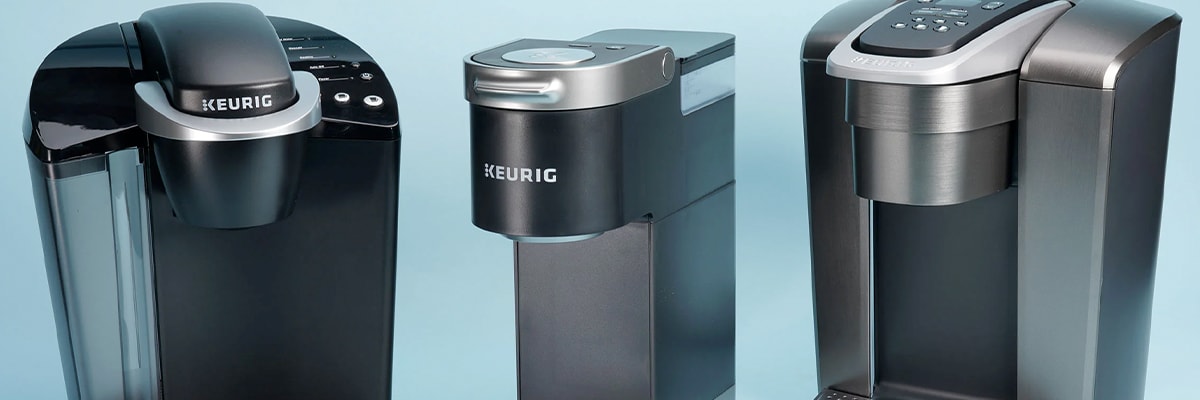
Keurig coffee makers revolutionized the small kitchen appliance market by introducing K-Cups. With a Keurig, you could easily make just enough coffee for a cup or travel mug by simply popping in a pod. Making coffee has never been easier.
Now, Keurig has expanded its product line and has machines that make full carafes and specialty drinks like lattes and cappuccinos. They’re still easy to use and a favorite of many avid and casual coffee makers. Like any small kitchen appliance, cleaning and maintenance are essential to keep it working properly and to ensure your coffee tastes its best. Here’s the best way to clean your Keurig and all its components.
Can You Clean Your Keurig in the Dishwasher?
There are a few removable parts in your Keurig, including the water reservoir and lid, as well as the K-Cup holder and funnel. The funnel is where the coffee drips through and is top-rack dishwasher safe! However, the water reservoir and lid are not and should only be cleaned with dish soap and a non-abrasive sponge.
The exit needle can get clogged up with old grounds after a while, so it’s important to clean that as well. You can take a small paper clip to remove old grounds and clear any clogs. However, be careful when doing this since this is where the sharp needle that pierces the K-cup rests.
Clean and Descale Your Keurig
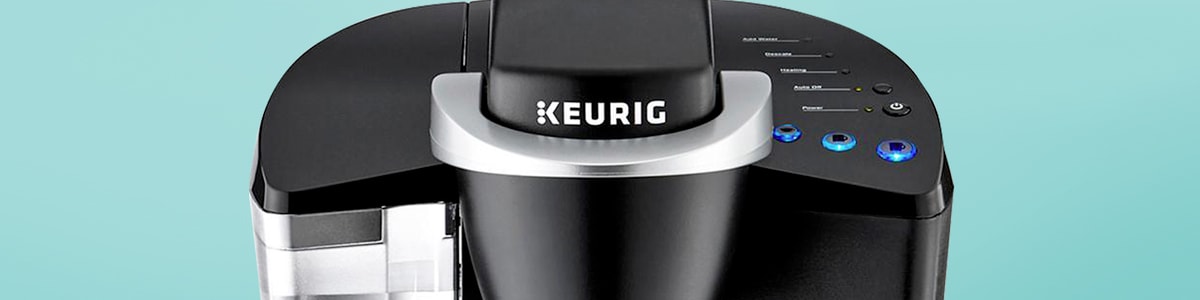
In addition to washing the components, you must clean the inside to prevent calcium and scale build-up. Regularly descaling your Keurig coffee maker will extend its lifespan and preserve the quality of your coffee. If the “Clean” or “Descale” light shines red on your machine, you know it’s time to clean your Keurig.
Here’s how to descale your machine in seven easy steps:
- First, power your machine off and empty the water reservoir.
- Pour an entire bottle of Keurig descaling solution or 16 ounces of white vinegar into the water reservoir. Follow this with another 16 ounces of water.
- Turn your machine back on and place a large mug on the drip tray.
- Run a brew cycle with the largest brew size. Note: Ensure your mug is large enough to hold the contents of the largest brew size. When complete, dump the contents of the mug in a sink.
- Repeat step four until “Add Water” is indicated. Then, thoroughly rinse the water reservoir.
- You need to run multiple rinse cycles. First, fill the water reservoir to the “Max Fill” line and place an empty mug on the drip tray. Next, run a rinse cycle on the largest brew size. When finished, empty the mug contents.
- Keep running rinse cycles at least 12 times with the largest brew size setting. This may require you to refill the water reservoir multiple times.
Now your Keurig machine should be completely clean! Repeat the process if the descaling or clean button is still illuminated. If your machine dispenses a white foam, turn it off and unplug. Next, thoroughly rinse the water reservoir, plug it back in, turn it on, and repeat the process. It’s also a good idea to clean each component with dish soap after the descaling process.
Protect Your Keurig With An Extended Warranty
Like large kitchen appliances, small appliances such as a Keurig coffee maker are prone to manufacturing defects. And while cleaning and maintaining your Keurig is crucial, it can’t always prevent issues like power failure or heating and cooling issues. The only way to protect your Keurig from mechanical failure is to purchase an extended warranty.
Upsie has the best and most affordable warranty plans for Keurigs and all small kitchen appliances. Choose a low-cost 2-year or 3-year plan with a $0 deductible, and your Keurig will be covered if it ever breaks. If your Keurig fails and you need to file a claim, you can call the Upsie claims center open 24/7/365 or fill out an online form. Your claim will get approved fast, and you can take your coffee maker to a local certified repair technician. You’ll get your appliance back quickly, and Upsie will cover all parts and labor costs.
Even better, you can make unlimited claims up to the purchase price of your appliance. And if your Keurig can’t be repaired on the first claim, Upsie will replace it. Brew coffee to your heart’s desire with total peace of mind that the best small appliance warranty covers your Keurig.
Learn More About Appliances:


* This article is over 6 months old and may or may not be updated.